If learning how to remove popcorn ceilings by scraping away their texture sounds like too much of a mess (and you should definitely prepare for a mess) or your ceilings are particularly damaged, it may be easier just to cover the whole thing up. Although installing a new layer of drywall is possible if you want a fresh start, there are also a few potentially simpler options. (Also, covering the ceiling with drywall panels will of course lower it, so in homes where the ceilings aren’t very high to begin with, this approach may not be ideal.) For instance, you can find some pretty convincing faux-tin tiles that can be attached to the ceiling with construction adhesive. If you favor wood paneling, you can attach wall planks directly to the ceiling with a nail gun.
With highly textured ceilings you’re planning to cover instead of remove, you’ll need to install furring strips to your ceiling and then attach the paneling to the strips to avoid an uneven look. Note that, with this method, you will need to remove small sections of the popcorn texture in order to attach the furring strips, so testing for asbestos is still essential.
What is a popcorn ceiling?
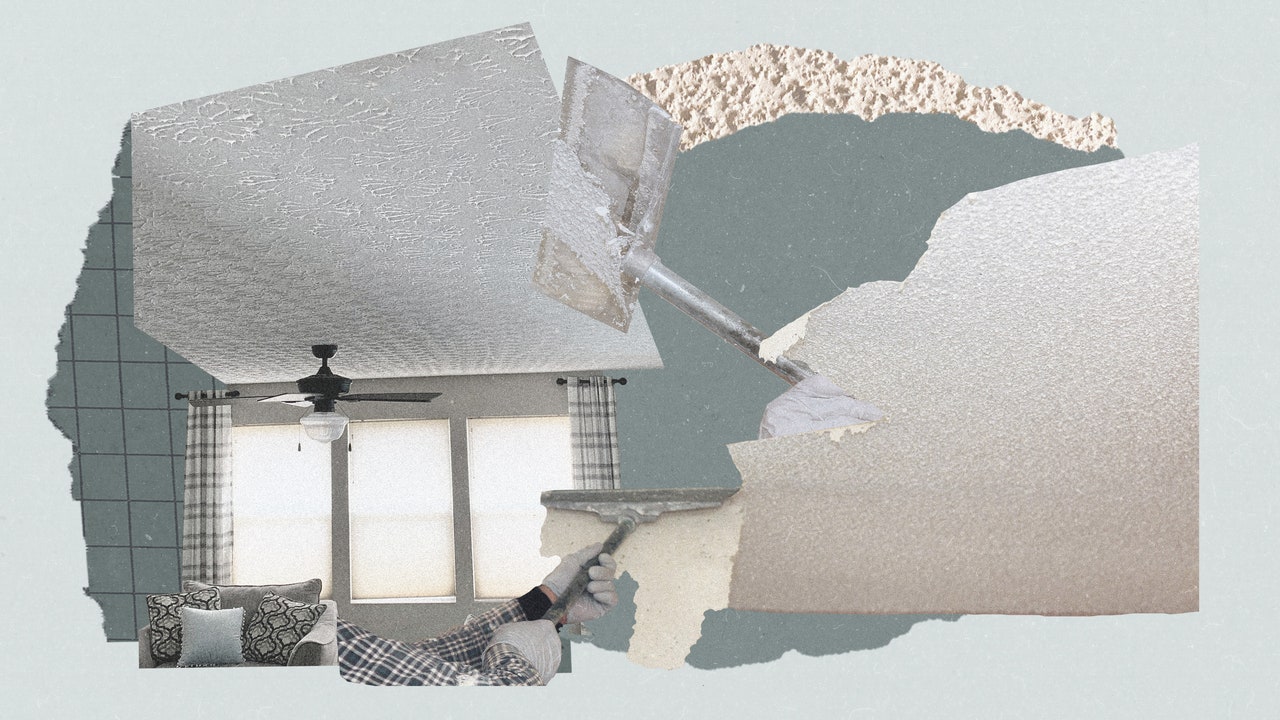
Popcorn ceilings are those heavily textured ceilings that approximate the look of popcorn. They were usually made from compounds like drywall mud and were popular because they helped dampen sounds and because they were easy to install without intensive finishing work. You can’t see imperfections when the entire ceiling is an irregular jumble of dotty texture, after all. “Popcorn ceilings were a hallmark of ’60s architecture but have since fallen off for their tendency to visually shrink and confine spaces,” says Sarah Jefferys, founder of Sarah Jefferys Architecture + Interiors.
What is dangerous about popcorn ceilings?
“The process for popcorn ceiling removal is actually pretty easy, but it is truly messy, and it can be dangerous too,” says Brandon Walker of the Tempe, Arizona–based ASAP Restoration LLC. “That’s because popcorn ceilings almost always have asbestos fibers embedded in them. Because of this, the only truly safe way to remove popcorn ceilings is by wearing a protective suit, and using a p100 respirator. These two items will be the most important of anything involved in the process, just because they are the only thing keeping you from asbestos exposure and contamination.” And if you’re wondering why asbestos is so dangerous, it’s because if you inhale airborne asbestos, the microscopic fibers can get stuck in your lungs for years. Over those years, they cause inflammation and scarring which can lead to a type of cancer called mesothelioma.
Can I remove popcorn ceilings without wetting them?
Yes, by all means, but it will likely be harder to do. “There are two methods for removing popcorn ceilings: the dry approach, which simply removes it dry, and the wet method,” explains Shawna Guevara, managing director of Landmark Structural Builders, which operates out of California and Texas. “Don’t underestimate the potential mess if you use the wet method to remove popcorn ceilings. Typically, I start with the dry approach, scraping a little portion without water to evaluate how easy it is to remove. If it comes off quite easily, you may not need to use much water. If it is difficult to remove and results in blotches, be prepared to utilize the wet approach.” Also be mindful of how dusty a dry removal can be. “The process forms large dust particles in the air that you’d want to avoid breathing in as much as possible,” Jefferys says. “Protect yourself and the rest of your home from the impending flurry of particles. Equip yourself with goggles, a dust, mask and gloves, and seal off vents and doorways.”
How long will it take to remove a popcorn ceiling?
It depends on the size of the ceiling, of course, but there are other factors as well. For example, you should try to leave the work space in which you’ll be removing the popcorn ceiling open to fresh air for several hours before you commence work to ventilate it, and you need to wait at least 12 hours after applying spackle or joint compound before you sand and paint the ceiling. As for the actual process, plan for 20 hours of work to remove 500 square feet of popcorn ceiling. It’s a weekend project, if you’re lucky, and definitely not an afternoon project.
What is the best tool for removing a popcorn ceiling?
“For scraping into corners, you can use a drywall knife or a paint scraper as these are the most effective tools for removing the popcorn texture,” says Jay Sanders, owner of both Castle Dream Construction and Maryland Contractors. “For best results, I recommend you use a six-inch putty knife.” You can also buy a dedicated ceiling texture scraper, but many people find these no more effective than those other tools you likely have already, and some prefer them less.
How do I dispose of the popcorn ceiling I removed?
How you dispose of popcorn ceiling debris depends on whether or not it contains asbestos. You must take all asbestos-containing debris to an approved asbestos waste disposal site. Obtain a list of disposal sites by calling your local Clean Air Agency. Double bag the popcorn ceiling debris in prelabeled bags designed for asbestos disposal (which you should be able to find online through marketplaces like Amazon), write your name, address, and removal date on each bag, transport the removed debris in a covered vehicle, and plan to dispose of the debris within 10 calendar days. If your popcorn ceiling is asbestos-free, you can simply dispose of the debris in your regular trash or pay to have it hauled away, if your popcorn ceiling removal made for heaps of fallen popcorn.